king arthur flour's crispy cheesy pan pizza
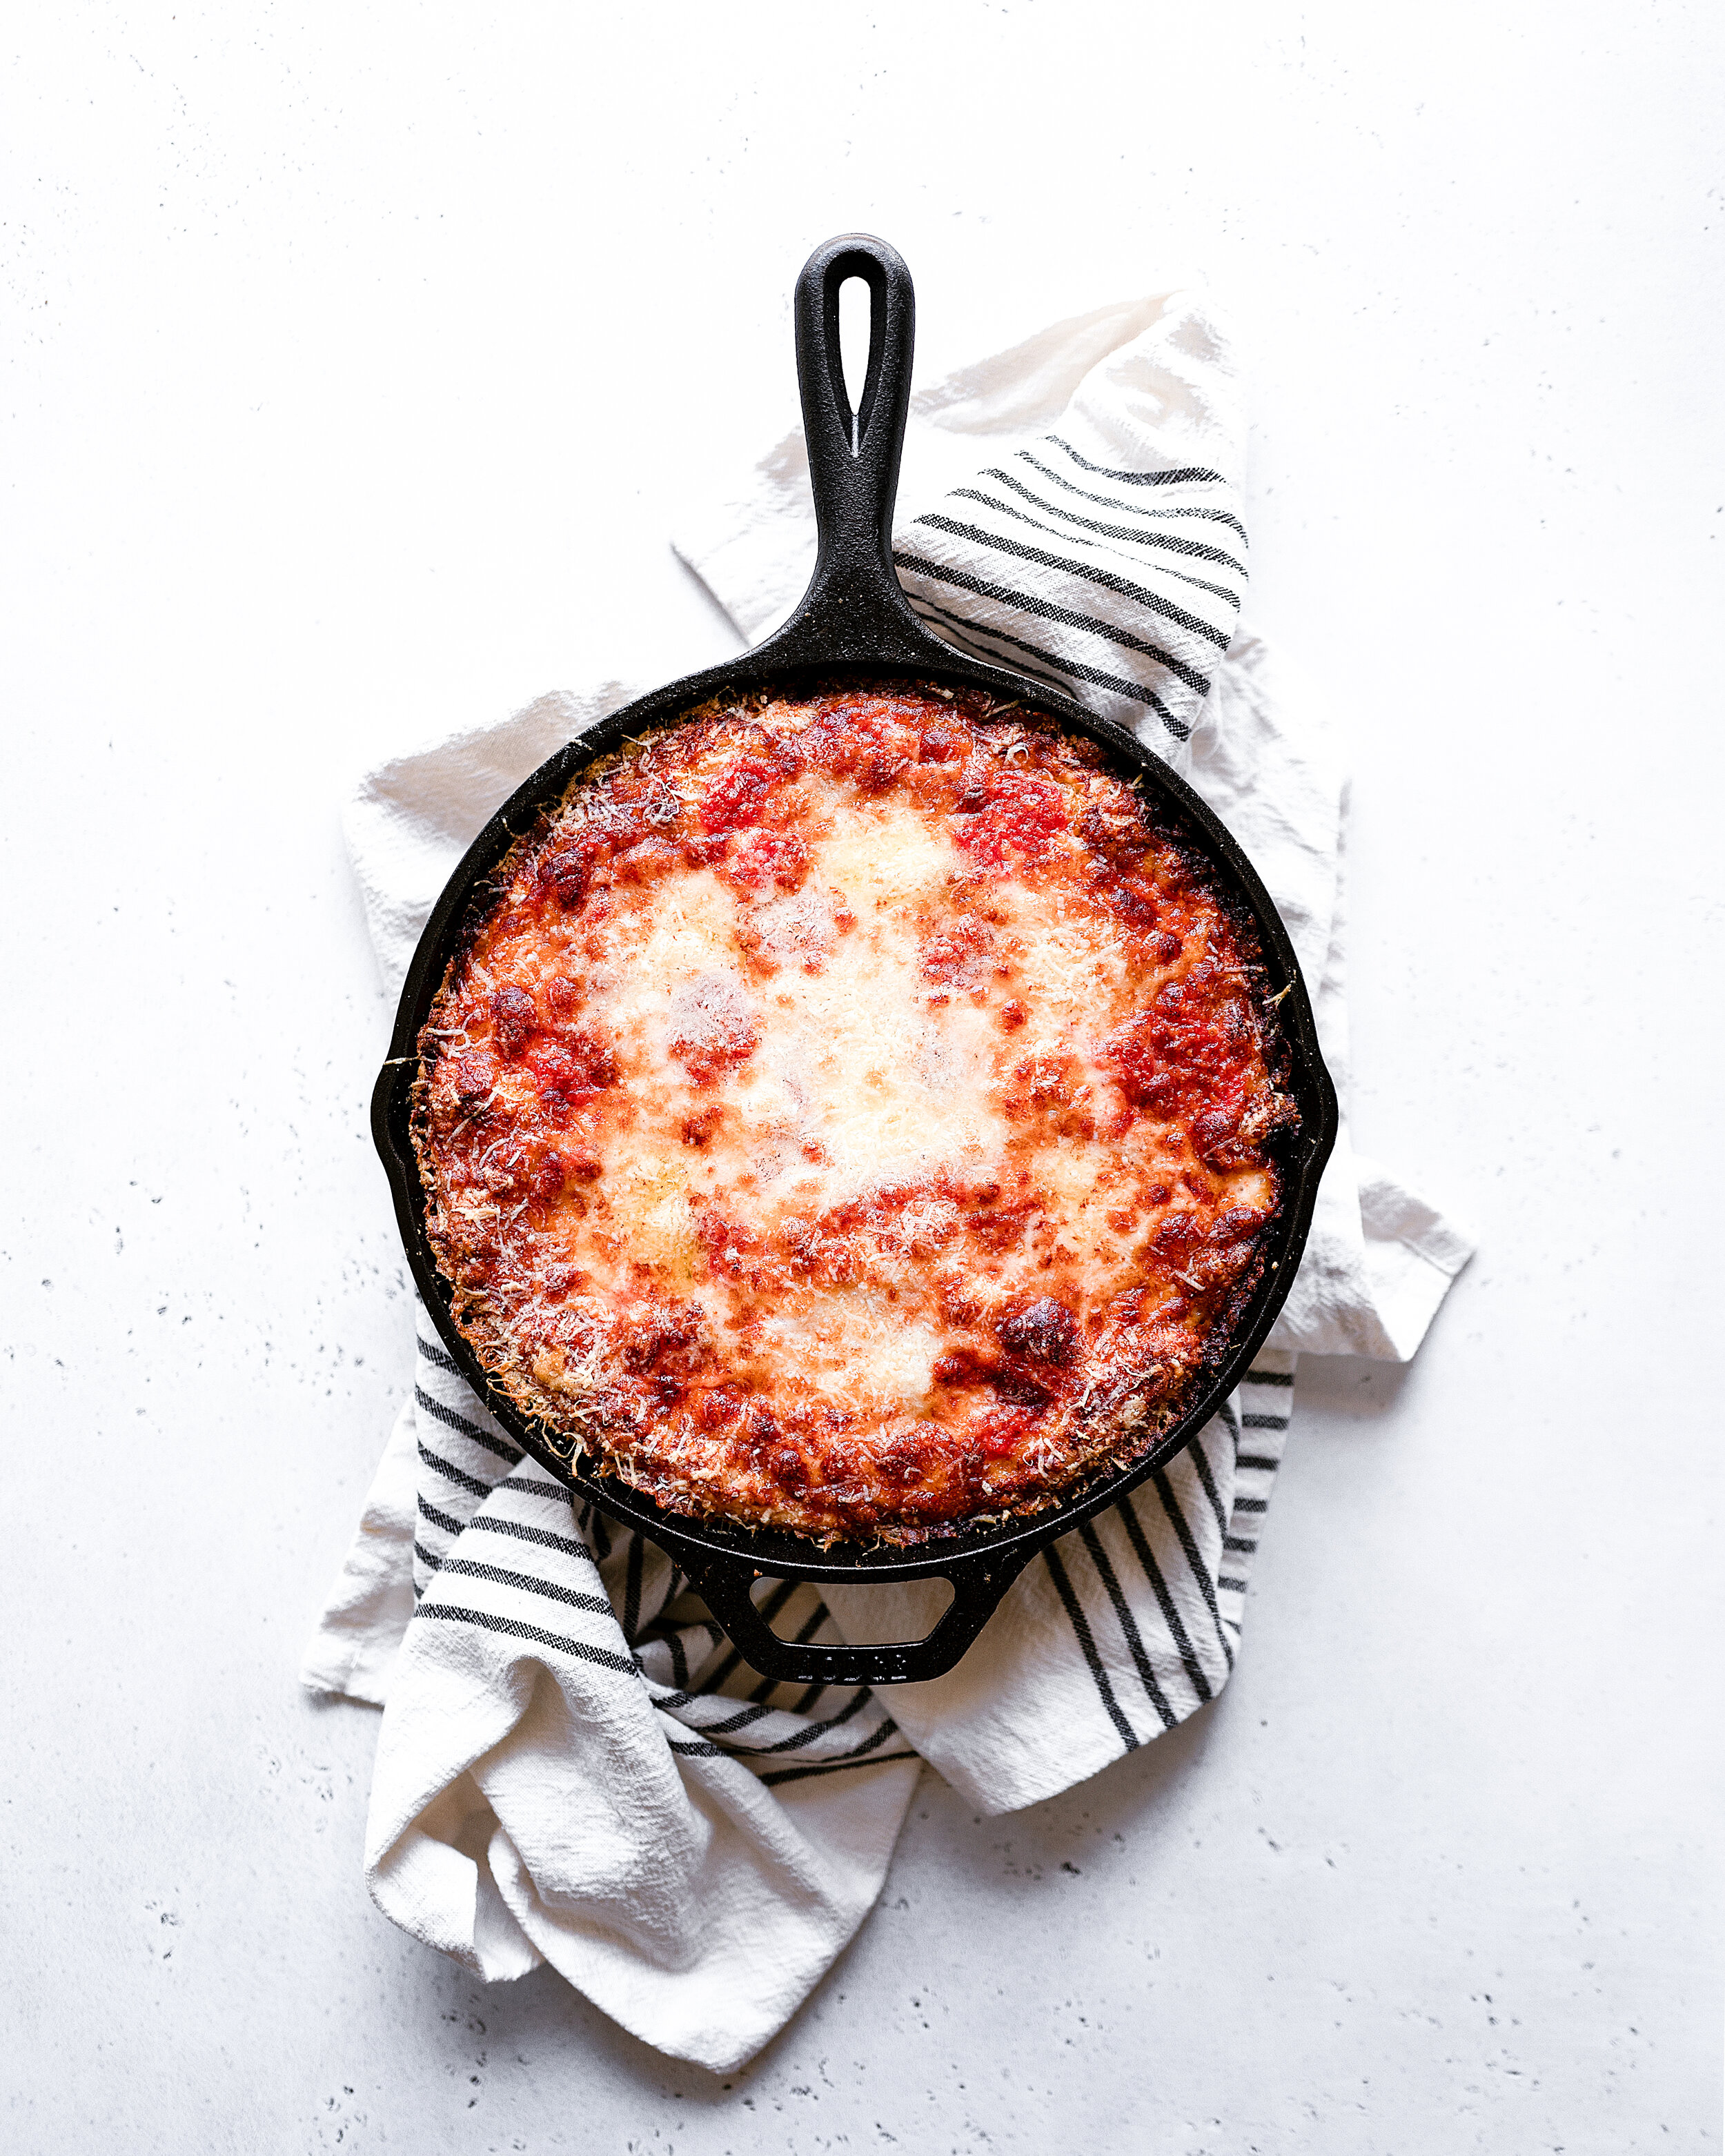
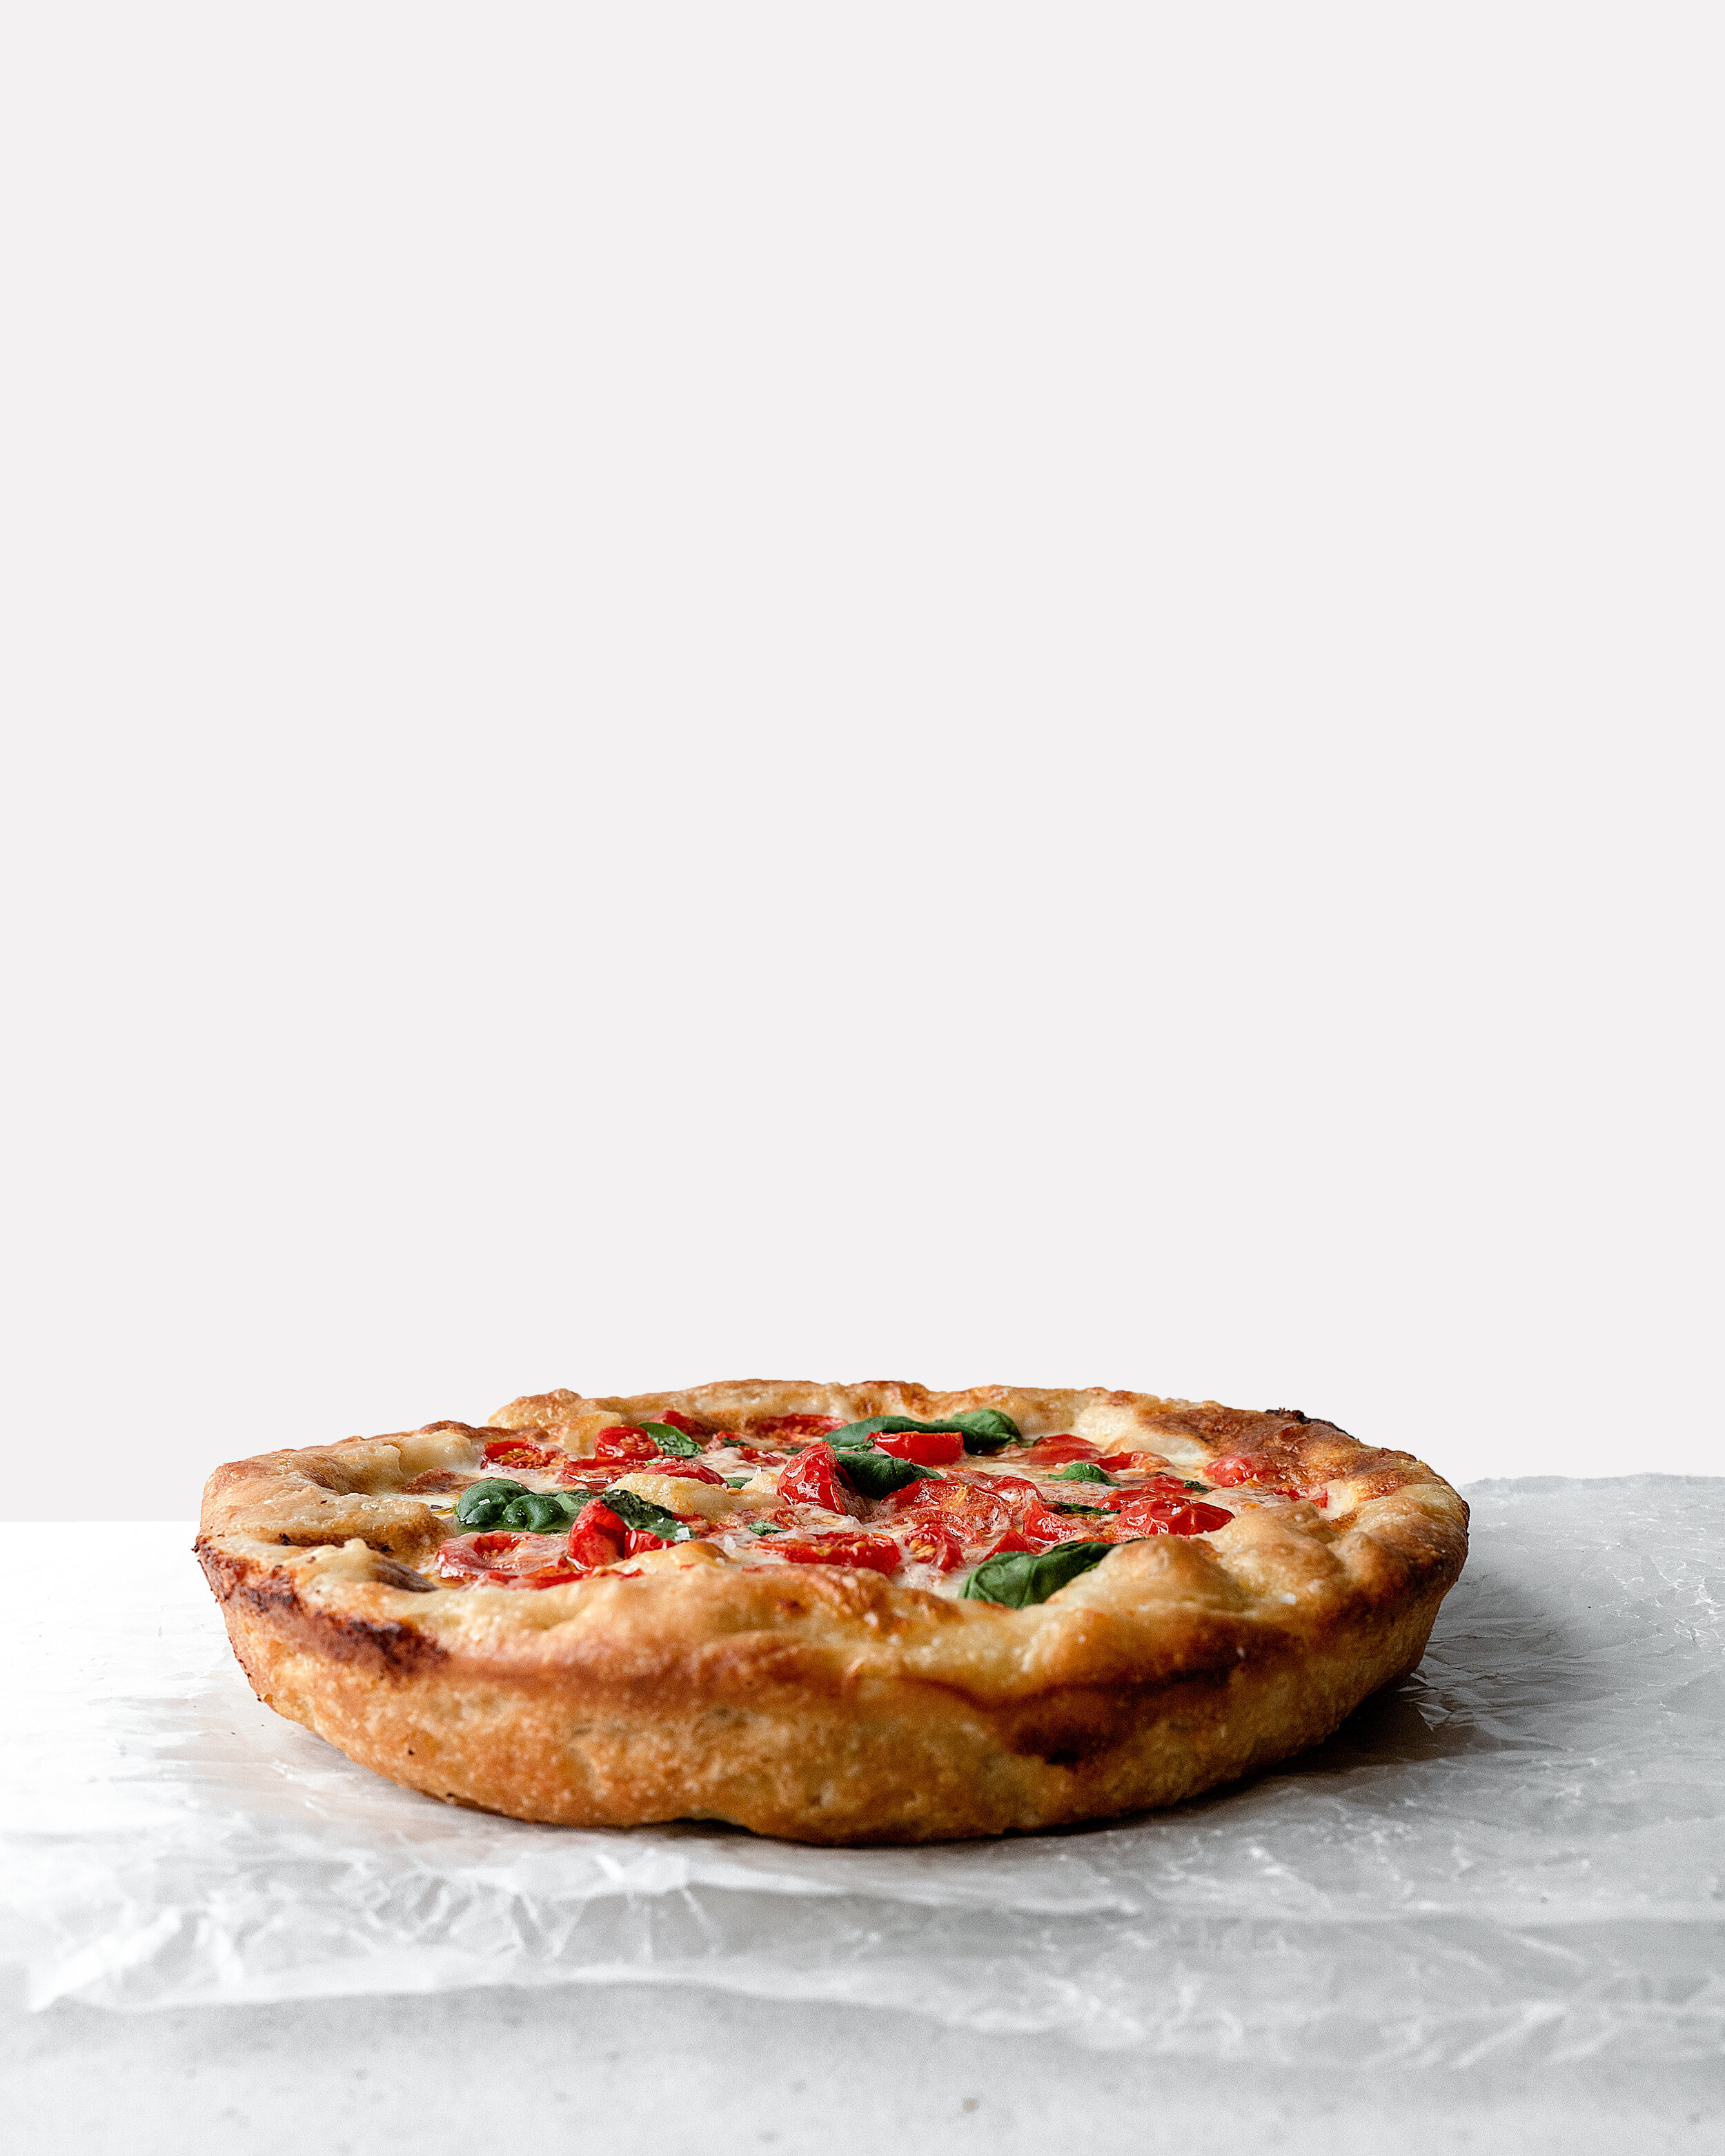
This is King Arthur Flour’s 2020 recipe of the year, which was also recently featured on Food52’s Genius Recipes column. The simple, forgiving recipe yields a crispy focaccia-like crust beneath layers of gooey cheese and sauce. Four baking techniques make this possible: an untraditional folding method which creates airy pockets in the crust, a flexible refrigerated rest (12-72 hours) which develops flavor, baking in a cast iron pan which makes the crust extra crispy, and layering the cheese beneath the sauce which helps act as a barrier to sogginess.
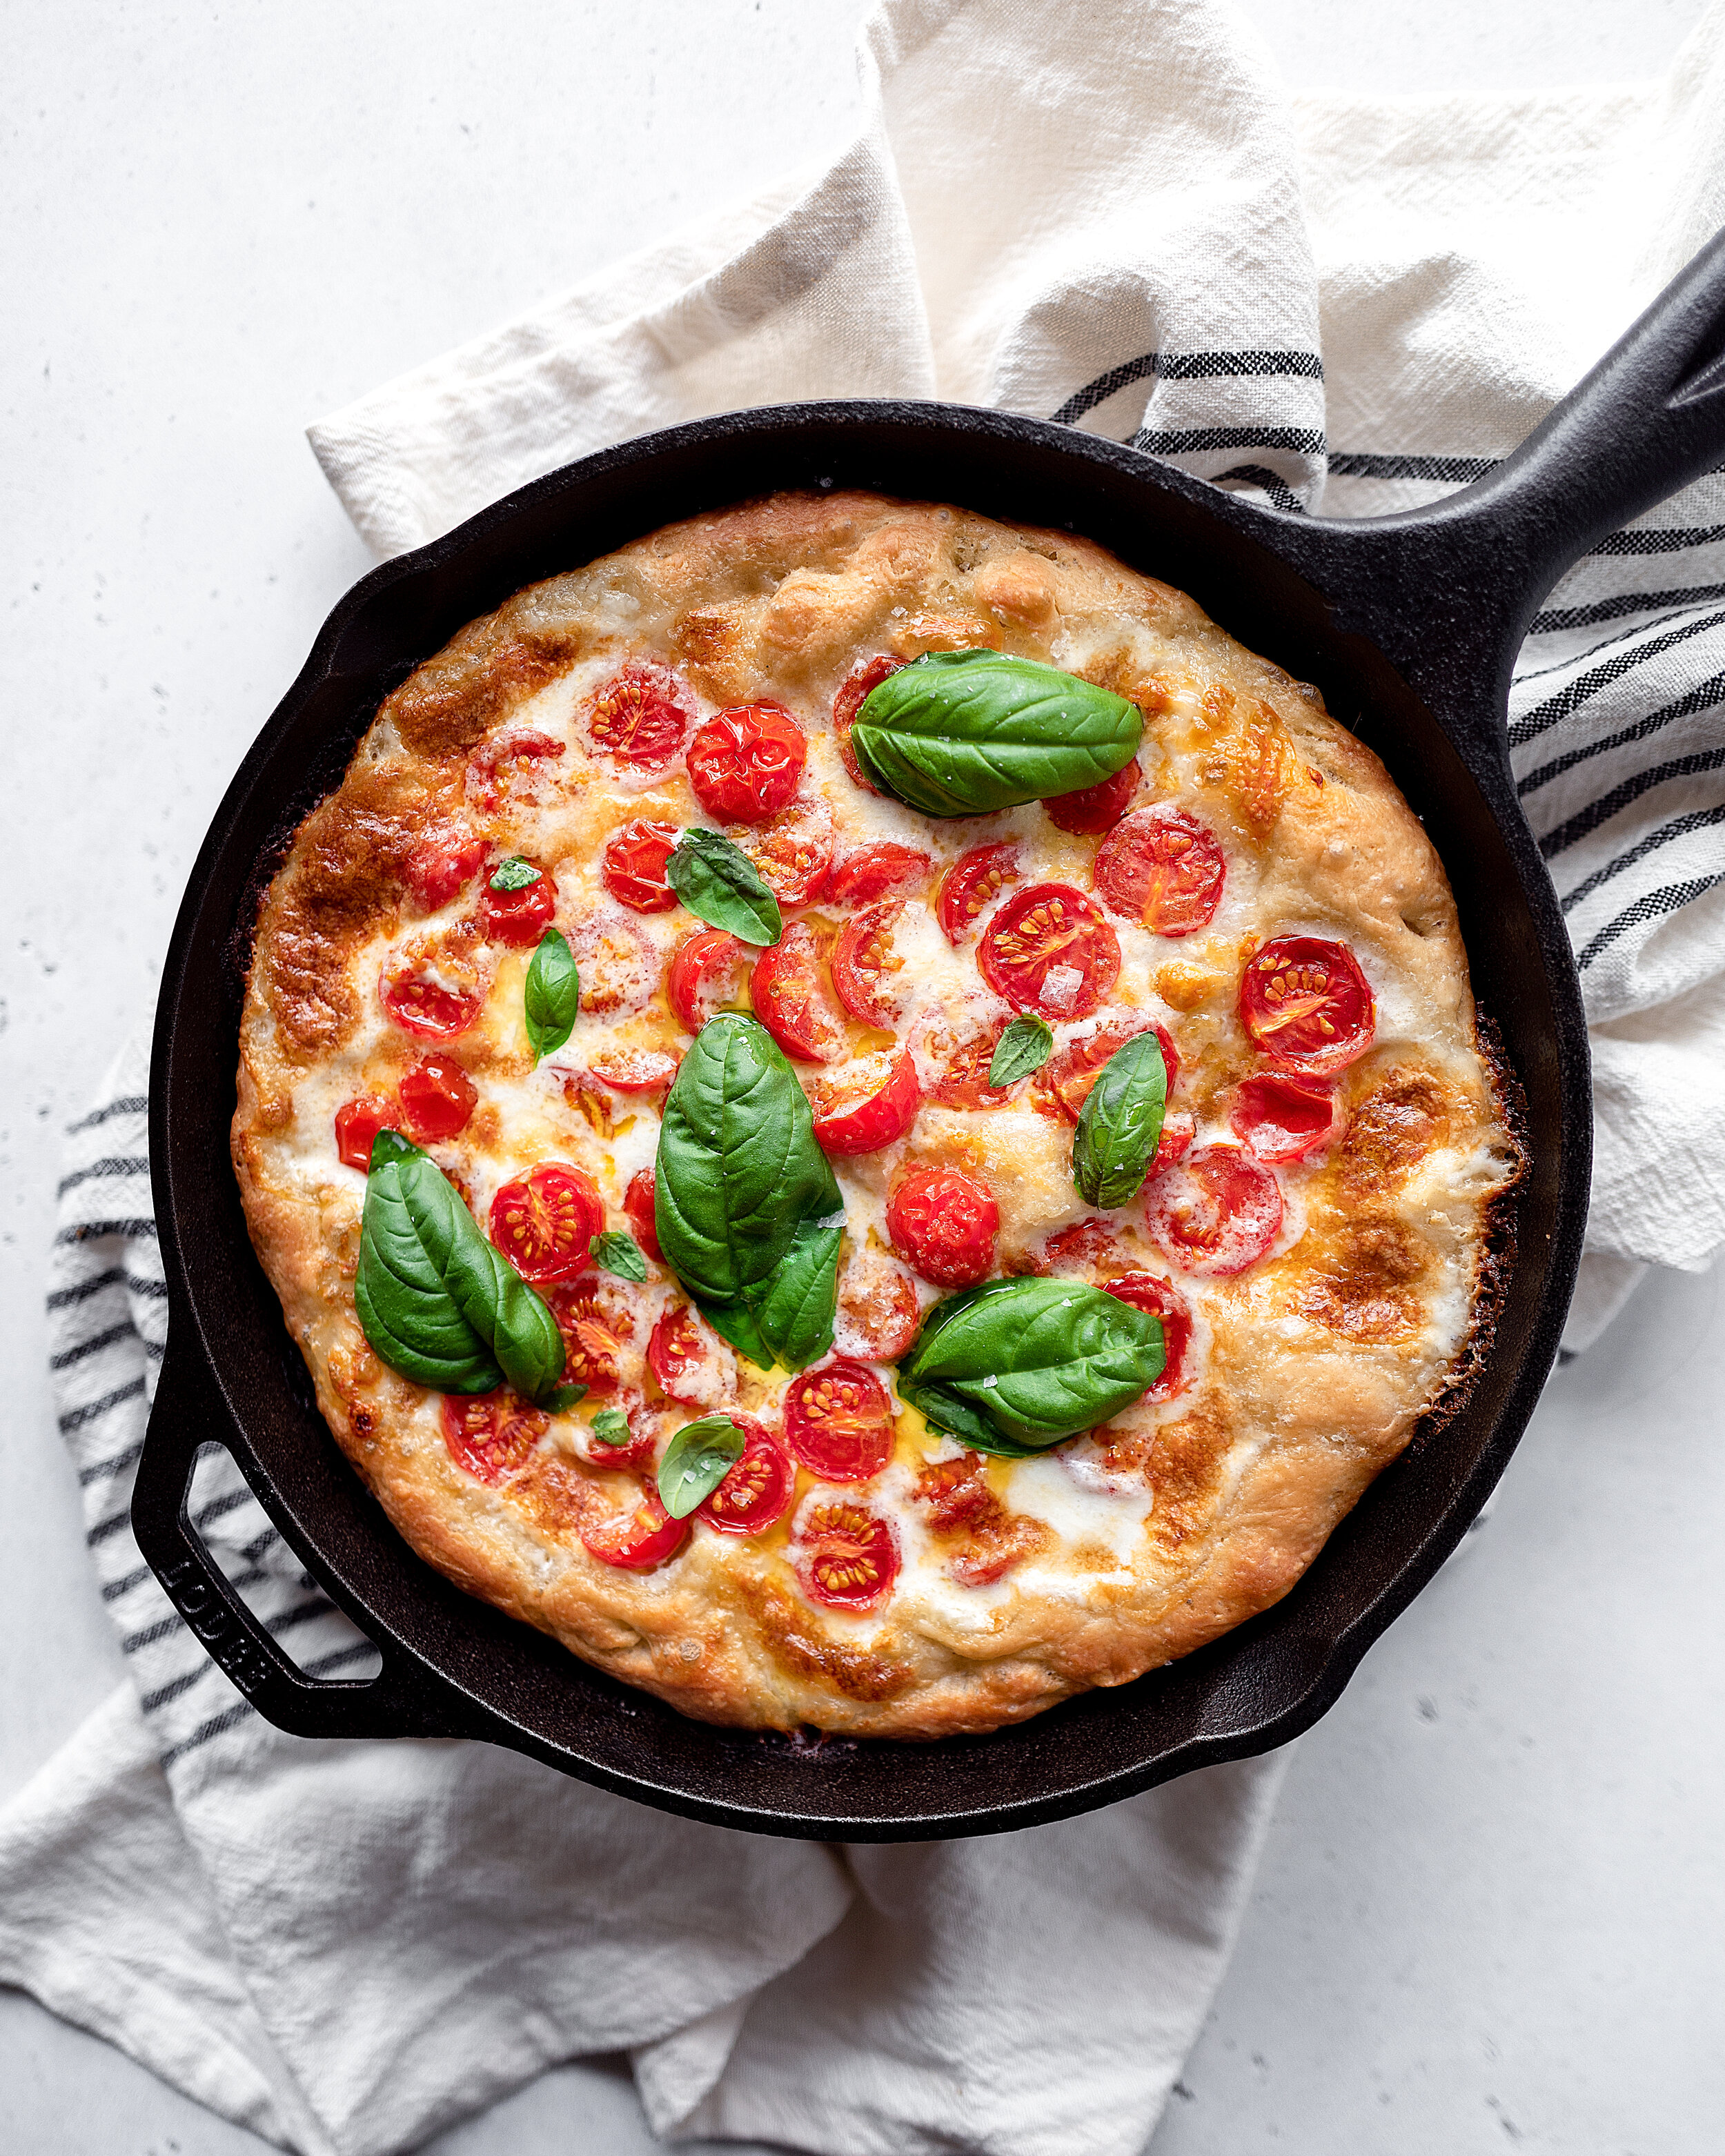
I’ve simplified the recipe’s method where possible, and in the headnote, I’ve included directions for an easy pizza sauce from Roberta’s cookbook. The crust is best when baked in a cast-iron skillet, but you can substitute a similarly sized oven-safe heavy-bottomed skillet, a 10” round cake pan, or a 9” square pan. This recipe is endlessly adaptable—you can substitute different melty cheeses or fresh cherry tomatoes (my favorite, photos below) or cooked vegetables or meat. Also, King Arthur Flour has great process photos and Food52 has a nice video which is especially helpful for first-time reference. Here, I’m keeping things uncluttered for ease of use, since I’ll be making this pizza again and again.
King Arthur Flour’s Crispy Cheesy Pan Pizza
Adapted from King Arthur Flour (and via Food52 Genius Recipes).
I made no significant changes to the recipe itself (except for substituting fine salt with kosher salt, since that’s what I tend to have on hand). You can use store-bought sauce or homemade. For quick and tasty pizza sauce, adapted from Roberta’s: Drain one 28-ounce can of whole peeled tomatoes and discard juice; blend tomatoes in a blender or with an immersion blender along with a clove of crushed garlic, a splash of olive oil, and salt to taste. This will make more sauce than you need, but you can heat up the extra for pizza dipping.
Makes one 9” to 10” pan pizza.
INGREDIENTS
DOUGH:
2 cups (240 grams) all-purpose flour
1 teaspoon kosher salt or 3/4 teaspoon fine salt
1/2 teaspoon instant yeast or active dry yeast
3/4 cup (170 grams) lukewarm water
1 tablespoon (13 grams) olive oil, plus 1 1/2 tablespoons (19 grams) for the pan
TOPPINGS:
6 ounces (170 grams) low-moisture mozzarella, grated (about 1 1/4 cups, loosely packed)
1/2 cup (113 grams) tomato sauce or pizza sauce (see note above)
Freshly grated hard cheese for finishing (optional)
Fresh herbs for finishing (optional)
METHOD
MAKE DOUGH: Place flour, salt, yeast, water, and 1 tablespoon (13g) of the olive oil in the bowl of a stand mixer or other medium-large mixing bowl. Stir everything together to make a shaggy, sticky dough mass with no dry patches of flour—30 to 45 seconds in a mixer using the beater paddle, or about 1 minute by hand using a spoon or spatula. Scrape down the sides of the bowl to gather the dough into a rough ball; cover the bowl.
FOLD DOUGH AND REFRIGERATE: After 5 minutes, uncover the bowl. With a wet hand, stretch the bottom of the dough up and over its top. Repeat three more times, turning the bowl 90 degrees each time. These four stretches are called a “fold” and they take the place of kneading. Re-cover the bowl and let rest five minutes; then repeat this process three times, for a total of four folds with a five-minute rest between each fold. After the fourth fold, cover the bowl and let the dough rest, undisturbed, for 40 minutes. Then refrigerate it for a minimum of 12 hours, or up to 72 hours. It will slowly rise as it chills, developing flavor.
PREPARE PAN: About 3 hours before you want to serve your pizza, prepare your pan. Pour 1 1/2 tablespoons (19 grams) olive oil into a well-seasoned cast-iron skillet 9” across the bottom. Tilt the pan to spread the oil across the bottom, and use your fingers to spread some oil up the edges.
SECOND RISE: Transfer the dough to the pan and turn it once to coat both sides with the oil. Press the dough to the edges of the pan, dimpling it using the tips of your fingers. The dough may start to resist and shrink back—if so, cover it and let it rest for about 15 minutes, then repeat the dimpling and pressing. If, after this, the dough still does not reach the edge of the pan, give it one more 15-minute rest before dimpling and pressing a third and final time. Cover the crust and let it rise for 2 hours at room temperature. The fully risen dough will look soft and pillowy and will jiggle when you gently shake the pan.
PREHEAT OVEN AND ASSEMBLE: About 30 minutes before baking, place one rack at the bottom of the oven and one toward the top (about 4" to 5" from the heating element), and preheat the oven to 450°F. When ready to bake, sprinkle three-quarters of the mozzarella (a scant 1 cup) evenly over the crust. Cover the entire crust to the edge if you want caramelized edges (but I actually prefer a little bare crust). Dollop small spoonfuls of the sauce over the cheese (don't spread it!). Sprinkle on the remaining mozzarella.
BAKE: Bake the pizza on the bottom rack of the oven for 18 to 20 minutes, until the cheese is bubbling and the bottom and edges of the crust are a rich golden brown (use a spatula to check). If the bottom is brown but the top still seems pale, transfer the pizza to the top rack and bake for 2 to 4 minutes longer. If the top seems fine but the bottom's not browned, leave the pizza on the bottom rack for another 2 to 4 minutes.
Remove the pizza from the oven and place the pan on a heatproof surface. Carefully run a table knife or spatula between the edge of the pizza and side of the pan to prevent the cheese from sticking as it cools. Let the pizza cool briefly, then as soon as you feel comfortable doing so, carefully transfer it from the pan to a cooling rack or cutting surface to prevent the crust from becoming soggy. Serve the pizza medium-hot or warm, using kitchen shears to cut into wedges.
April 16, 2020


